Introduction: Why This Setup Matters for Aadhaar-Based Services
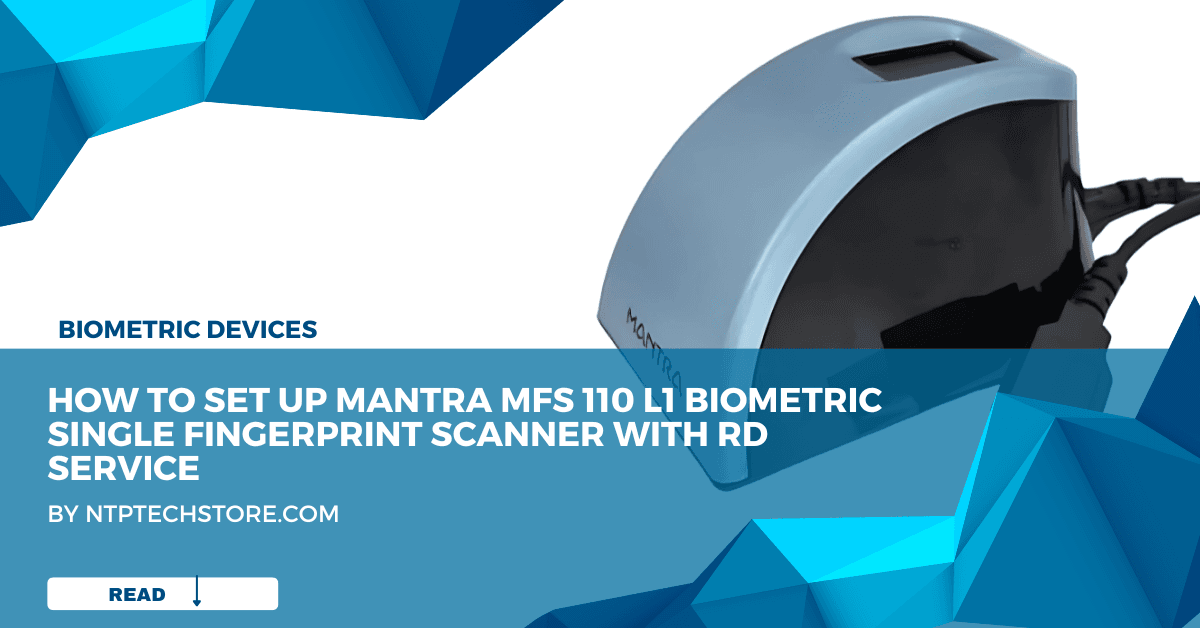
In today’s digital-first governance ecosystem, Aadhaar authentication has become the backbone of e-KYC and identity verification services across India. For CSC (Common Service Center) operators, government service providers, and digital KYC agents, using a reliable Aadhaar fingerprint scanner like the Mantra MFS 110 L1 is crucial.
But simply purchasing the device isn’t enough. To function with Aadhaar authentication systems, the scanner must be registered with an RD (Registered Device) Service. This step ensures compliance with UIDAI security protocols and enables real-time, secure biometric authentication.
In this guide, we’ll walk you through how to register and set up the Mantra MFS 110 L1 Biometric Scanner with RD Service, ensuring smooth and secure operations for Aadhaar-linked services.
What You Need Before Starting
To set up the Mantra MFS110 L1 fingerprint scanner, ensure you have the following:
- Mantra MFS110 L1 biometric scanner
- A Windows PC or Laptop (Windows 7 or higher preferred)
- Active Internet connection
- Administrator rights on your system
- RD Service package from Mantra (available from their official website)
- Basic knowledge of system software installation
Step-by-Step Guide: How to Set Up Mantra MFS 110 L1 with RD Service
Step 1: Install Device Driver
- Visit the official Mantra Softech RD Service Download Page.
- Download the “Mantra MFS 110 L1 Driver” suitable for your Windows OS.
- Unzip the downloaded file and run the setup as administrator.
- Once installation is complete, connect the scanner to your USB port.
- Allow the device to automatically detect and install final drivers.
Step 2: Install the RD Service Package
- Go back to the download page and download the Mantra RD Service (generally named
MFS110 RDService Installer). - Install the RD Service using administrator privileges.
- Once installed, the RD Service will start running in the background.
- To verify, open your browser and enter:
http://127.0.0.1:11100/
This will display the RD Service status.
✅ Tip: Make sure you allow RD Service through Windows Firewall if prompted.
Step 3: Register Your Device with RD Service
To complete RD registration, follow these steps:
- Visit the official RD registration portal: https://rdserviceonline.mantratecapp.com
- Fill in the required details:
- Device Serial Number (found on the back of your MFS 110 L1)
- Registered mobile number
- Email ID
- Submit the form and wait for a confirmation message via email or SMS.
- Your device will be linked to the RD server and ready for use with Aadhaar-based authentication applications.
Step 4: Test the Setup with Aadhaar Authentication Software
- Use any compatible software like UIDAI AUA, KUA apps, Banking KYC portals, or CSC e-Governance apps.
- Select Mantra MFS 110 L1 as the fingerprint scanner.
- If the RD Service is active, you’ll see live preview or fingerprint capture response.
- Run a live fingerprint scan to verify the RD service integration.
Comparison Table: Mantra MFS110 L1 vs Morpho MSO1300 L1
| Feature | Mantra MFS110 L1 | Morpho MSO1300 L1 |
|---|---|---|
| RD Service Compatibility | Yes (via Mantra RD) | Yes (via Morpho RD) |
| Sensor Type | Optical Fingerprint Sensor | Optical Fingerprint Sensor |
| L1 Certification | Yes (UIDAI Certified) | Yes (UIDAI Certified) |
| Driver Availability | Windows, Android | Windows, Android |
| Software Support | Strong CSC & eKYC Integration | Widely accepted in banks |
| Pricing | ₹2,800 – ₹3,500 | ₹3,200 – ₹4,000 |
| Best Use Case | CSC, E-KYC, PMGDISHA | Bank CSPs, DBT Authentication |
Common Errors & Fixes
| Issue | Solution |
|---|---|
| RD Service Not Starting | Reinstall RD service, check Windows Firewall, or update Java Runtime |
| Device Not Recognized | Ensure driver is properly installed; try a different USB port |
| Error 720 or 7201 in Authentication | Means RD service not active or not synced with UIDAI – re-register device |
| Fingerprint Capture Fails Randomly | Clean sensor surface; ensure dry and clean finger |
FAQs: Frequently Asked Questions
Q1: Is Mantra MFS110 L1 approved by UIDAI?
Yes, it is L1 certified and UIDAI-approved for Aadhaar-based authentication.
Q2: Can I use this device on Android?
Yes. Mantra provides Android RD SDKs and APKs for integration with mobile devices.
Q3: How often should I renew RD Service?
Generally, RD Service is valid for 1 to 3 years depending on the license you obtain. Renewal can be done via the Mantra RD portal.
Q4: Can I use the scanner without RD Service?
No. UIDAI mandates RD Service for any biometric device used in Aadhaar authentication.
Q5: How do I know if my device is registered?
Visit http://127.0.0.1:11100/ and check for device status. You can also log in to the Mantra RD portal to check registration.
Conclusion: Reliable Aadhaar KYC Starts with Proper Setup
The Mantra MFS110 L1 is a powerful and reliable biometric device for Aadhaar authentication. Setting it up with RD service ensures UIDAI compliance and smooth functioning with e-governance and financial platforms.
By following this setup guide, CSC operators and digital agents can confidently start using the device for Aadhaar eKYC, welfare distribution, or digital verification.
🔗 Next Steps:
